Introduction
Excel is a critical tool for businesses of all sizes. From start-ups to Fortune 500 companies, Excel is used to manage financial data, create complex formulas, and build custom business solutions. It is also a very useful tool for small businesses, freelancers, and medium-sized establishments to manage data. For your convenience, we have written in detail how to create an invoice in Excel format. Read ahead to learn more about it!
Why is Excel Important for Businesses?
Excel has become a tool that helps us record data for every little task we perform in our daily lives. Here are the reasons why it is so important:
Excel is important for businesses because it provides a versatile platform for organizing, analyzing, and presenting data. With Excel, businesses can track sales, create budgets, and forecast future growth. Excel can also be used to create pivot tables and charts, which help businesses visualize data and trends.
Another reason Excel is so important for small businesses is that they can use it to create custom solutions. With Excel, businesses can automate tasks, such as invoicing and data entry. Businesses can also use Excel to develop custom dashboards and reports. By leveraging the power of Excel, businesses can save time and money.
Excel is a powerful tool that can help businesses of all sizes, especially small businesses, improve their operations. Whether you’re using Excel to track data, create formulas, or develop custom solutions, Excel can help you streamline your business and achieve your goals. Invoice in Excel format is just one of the ways it is helpful to businesses.
How To Create An Invoice in Excel Format?
Creating an invoice in Excel format using a template is pretty simple. These are the steps to create one:

Source | A Sample Invoice in Excel Format Template
Step 1: Launch the Excel spreadsheet on your PC. Once it is open, move to the File menu on the top left of your screen. You will see an option New From Template appearing there. Click here, and you’ll be taken to the Excel Workbook gallery. This step will apply if you’re using a Mac. In case you’re using a Windows PC, Type ‘invoice’ in the search bar on top of your window, choose a template from the various template options provided to you, and click on Create . Then continue from step 3.
Step 2: Once you are in the Excel Workbook gallery, type the word ‘invoice’ in the search bar at the top right corner. A wide array of invoice in Excel format templates will appear after that. According to your business profile, you can choose your required template by double-clicking on it or by clicking on it once and then clicking on Choose at the bottom.
Step 3: The template will open on your window with blank entries. You can now start customizing your invoice in Excel format template! Ensure that important parts of an invoice are present, including the word ‘invoice,’ your company’s name and address, your client’s contact details, the list of products and the amount charged against each product, the grand total to be paid by the client, etc. You can refer to an expert to include all necessary entries in your invoice in Excel format.
Step 4: The Home menu features will allow you to customize your template with different fonts, sizes, styles, and colors. Make the necessary changes and fill the template with all the details.
Source | Customization features available in the Home Menu
Step 5: Go to File, click Save As, and save your invoice in the required format in a suitable location. You are all set to send the saved invoice to your client!
But what if you want to create an invoice in Excel format from scratch without using a template? Here are the steps to do so:
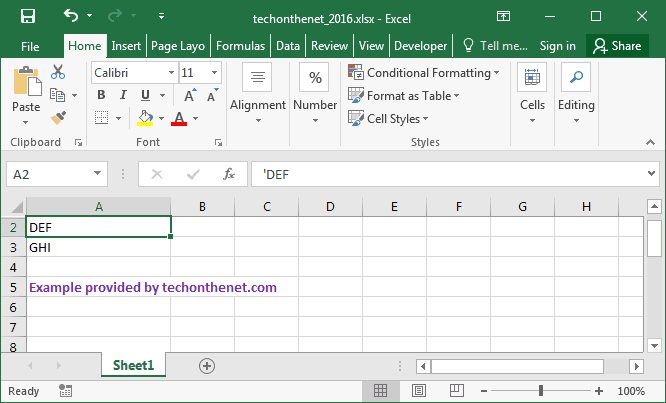
Source | A Blank Workbook on Excel
Step 1: Launch Microsoft Excel on your PC and click on Blank Workbook. A completely blank spreadsheet will open on your screen.
Step 2: The next step is to create a header for your invoice. The header should contain many important details, including the logo and name of your business, its address, and contact details. It should also carry your unique registration number, if required, and the date of the invoice.
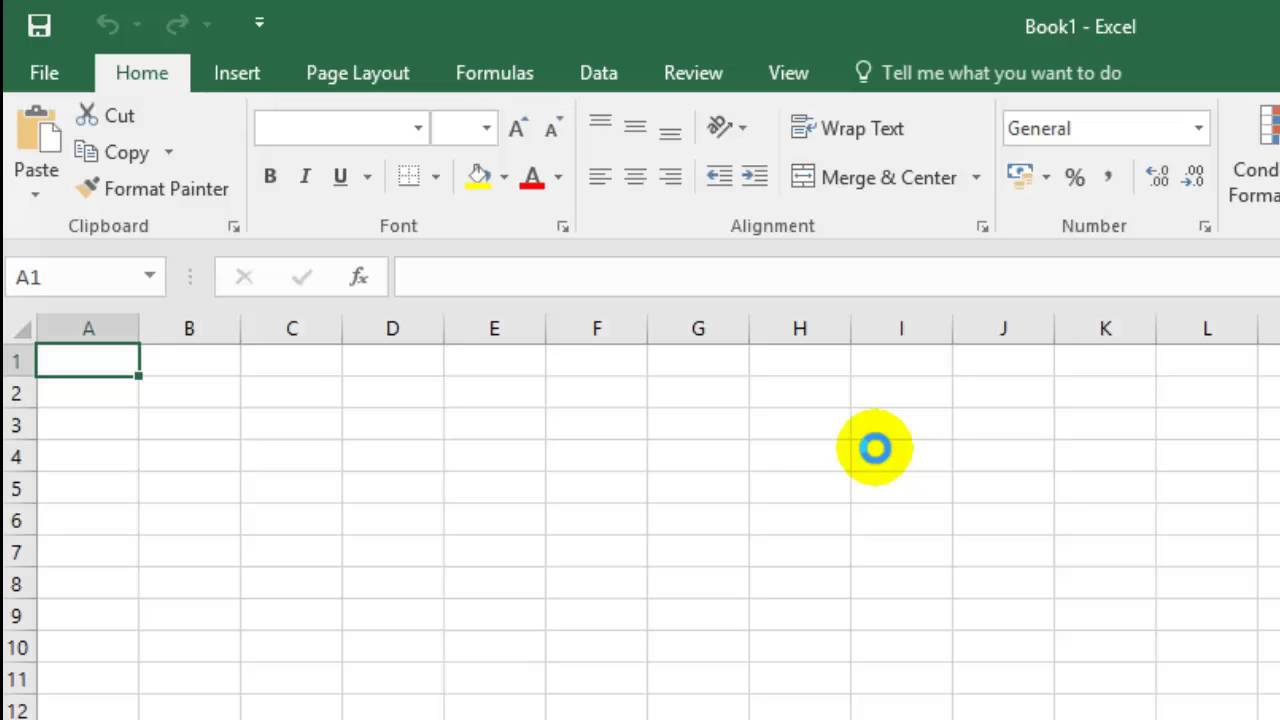
Step 3: Next comes the client’s details. Add all their contact information, including phone numbers, names, addresses, and others. Use tools like Merge & Center for formatting cells.
Source | The Merge & Center Tool for Invoice in Excel Format
Step 4: Write the exact due date of the expected payment to avoid confusion. Don’t be vague in this section and specify a date.
Step 5: Then comes another important part. Add the list of services or products provided, and add four columns. The first should contain a description of the product or service. The second should contain the rate of the same. The third should contain the number of billable hours or the number of products. The fourth column should contain the subtotal of each service or product. Add all the subtotals in this step. Use the functions of Excel, specifically SUM, to calculate the total due amount. For example, if you need to add up the subtotals in Column D from cells two through six to calculate the total due, enter the following formula in cell D7: =SUM(D2:D6)
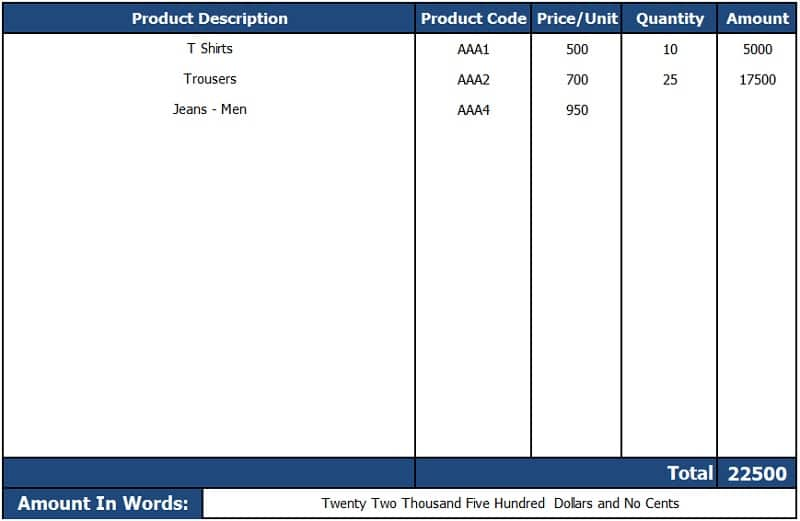
Source | Sample columns for Product Description Section
Step 6: Include any other detail, including terms of payment, late payment policies, and other details which may be needed by the client.
Besides Excel, there are several tools you can use to generate invoices for your business. You can read about the best tools to generate invoices.
Conclusion
If you're running a small business, chances are you're looking for ways to cut costs and save time. Here is where invoice in Excel format comes in. If you learn to use Excel to your benefit, it will act as a boon for your business! And the best part is it's relatively inexpensive and easy to learn.
We hope this article helped you learn how to create an invoice in Excel format!
Salt works to bring the conveniences of global banking for your business with local accounts to your fingertips. Want to know more about us? Give the Salt website a visit!